Have you just bought your new Alexa device? Do you also want to enjoy its amazing feature on your Computer? Well, then do not worry as today we are going to learn how to set Voice Profiles on Amazon Alexa Devices?
Every device enabled with Alexa works with the help of the internet. Without the internet, they are nothing but just the Bluetooth speaker. So, the thing that you need to do is to get your device online by connecting it to the Computer. But how are you going to do so?
What are the steps that you need to take to make that happen? Well, before you try and connect your Alexa device to the computer, make sure that you have a username and the password for the connection. After that, you are going to follow some steps in order to make sure that you Set up Amazon Alexa Voice Profiles.
Well, if you are near to this or are not so tech-friendly, then you do not have to worry and get in touch with our experts who are there to help you out.
Our experts are technically advanced and have been exposed to such issues. They know the right tips and tricks for helping you out. All of them have the knowledge, experience, and the right tools through which they diagnose the issue and fix it for you.
They are 100% verified professionals and certified to help you as well. In order to get in touch with us, call us at Alexa Helpline.
There are going to be some people who would want to try and resolve the issue on their own. Well, they can follow the steps below for How to Set Voice Profiles on Amazon Alexa Devices.
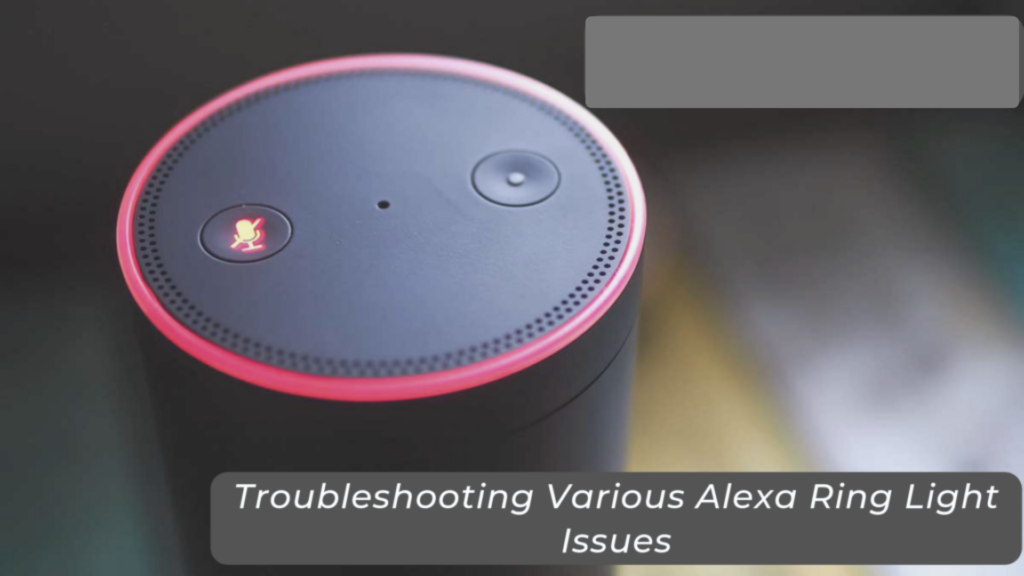
How to Set Voice Profiles on Amazon Alexa Devices:
When you have purchased the Alexa and are trying to connect it with the Computer, it is sure that you must have downloaded and installed the Alexa app. Well, if you have not done that, then you must visit the play store for the android users and the App Store for Computer users.
When you have just purchased the device and are trying to connect it to the computer, then you might have to follow some steps first that are mentioned below.
Enter the credentials of the Amazon account and then select for Sign-in. Then select on the Get start button if the prompts begin.
You need to select on the name that is associated with your Amazon account as there will be a list that will be provided to you.
Now you would have to give permission to amazon so that it can access your contacts as well as notifications. Although, this may not be that necessary in order to connect Alexa to Wi-Fi.
After that, you need to select the Alexa button that will be there as three horizontal lines. The option is located on the upper left-hand corner. After that, you are going to see the drop-down menu and then select the settings options.
After that, you need to select the Add new device button.
There will be a list there from which you need to choose your Alexa device. Whether it is an Alexa dot, Alexa Plus, Alexa 2nd generation, etc.
You need to select the model that you want to set voice profiles on amazon Alexa. After you have done that, then you need to plug in your device in the power outlet.
If you see that the device is already plug in, then you have to press and hold the Action button. When you are trying to set your device for the first time, you are going to see the light ring turn to orange.
The moment you see that your device is ready to begin, then you can select the continue button.
This is How to Connect the Alexa to Computer. There are still some people who might have issues with the setting up of Alexa with the Wi-Fi connection.
Well, what they can do is get in touch with our experts who are always there to help them out. They are going to provide users with the most reliable solution.
If you are looking to get in touch with our professionals Amazon Alexa Helpline number.
Disclaimer: Smart Device Helpline, is a third-party service provider and have no affiliation or relation with the brand or service. Any image or content used in the post is only for representation and information purposes and we do not have any right or authority over it. How are you using this information is solely your responsibility and we shall not be held accountable for the same.